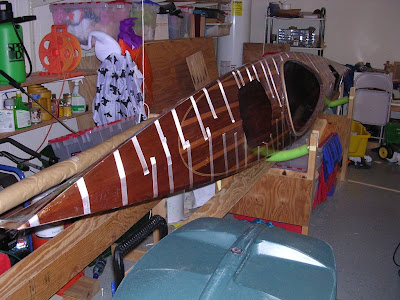
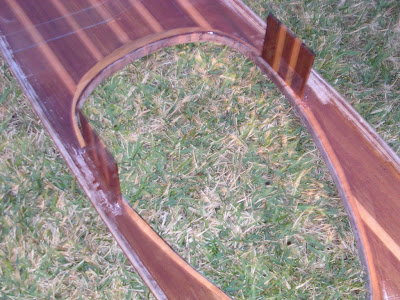
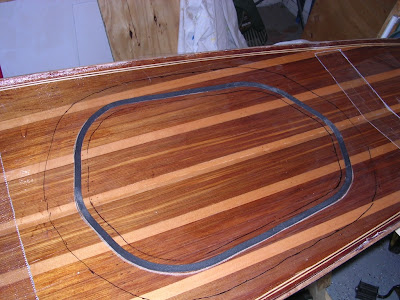
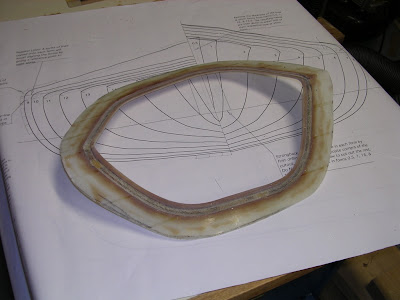
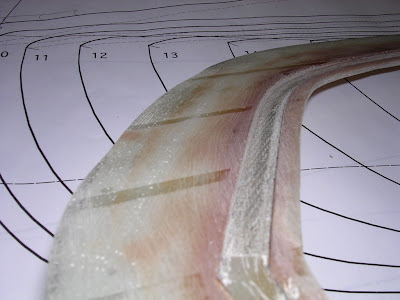
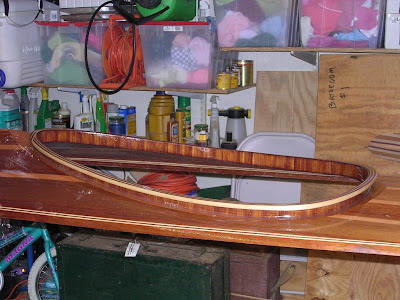
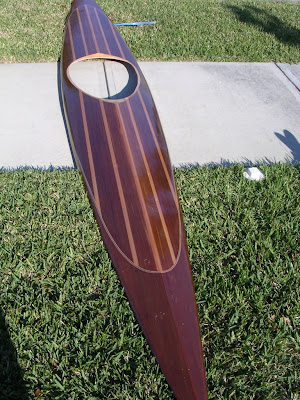
Here's a shot of the deck and hull being joined. The first seam went relatively smoothly. I put a fillet of thickend epoxy out at the ends because this design has prety sharp transitions between deck and hull near the bow and stern. It felt really good carrying the boat out the garage door in one piece to flip it over!
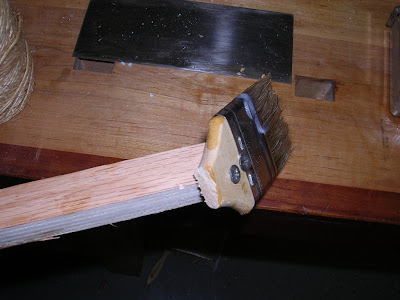
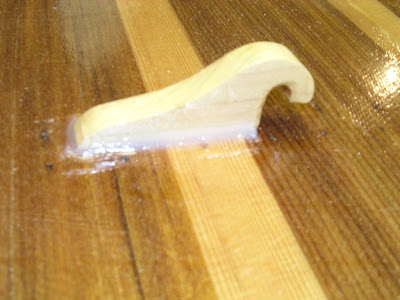
 Here is how I attached a chip brush to the end of a stick. It's kind of hard to see, but the end is cut off at a compound angle. It worked really well at spreading an initial layer of epoxy as well as forming the thickened epoxy fillets. I also used it to roll out the epoxy soaked fiberglass tape.
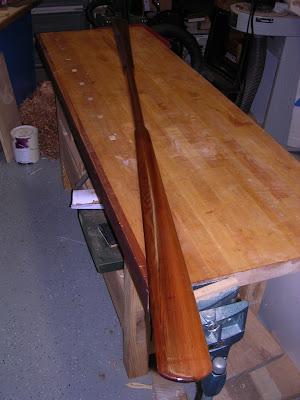
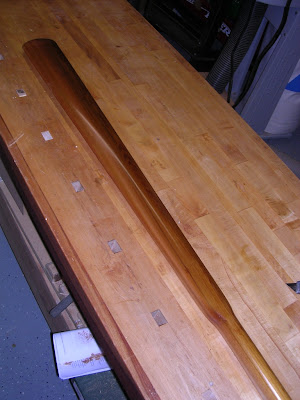
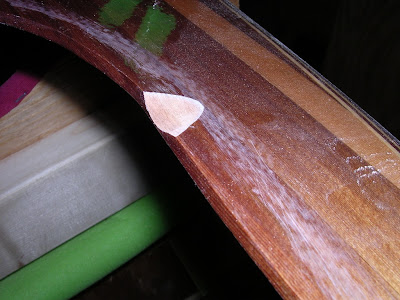
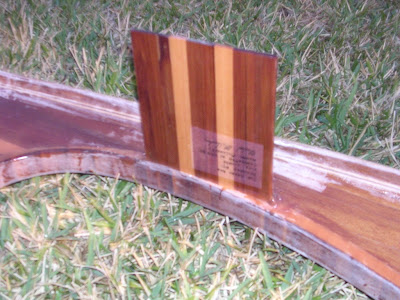
Lastly, here is the Greenland paddle I carved. The wood is a cedar 2x4 I picked up at Home Depot. It was really tight grained and mostly free of knots. The finish is Watco Teak Oil finish...about 8 or 9 coats. The tips have a piece of fiberglass epoxied on for abrasion resistance.

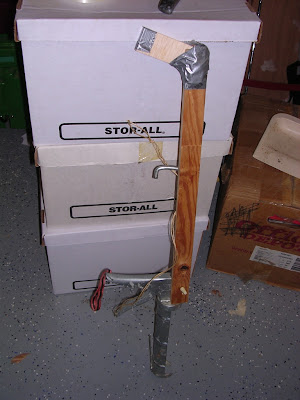
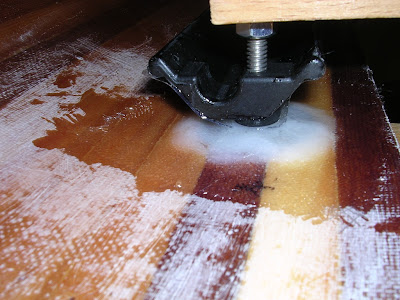
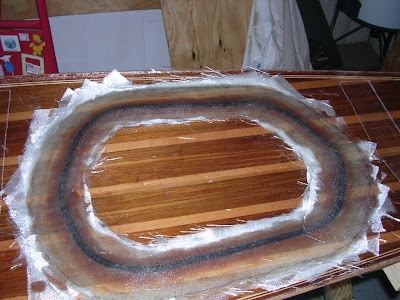
Here is a useful modification to my caulking gun to deliver thickened epoxy to the ends of the kayak. the twine is attached to the trigger to be able to actuate the plunger from the extended handle. I purchased some empty caulking tubes to fill with epoxy...it worked pretty good, but was diffcult to maneuver out at the end. The caulking gun handle didn't allow me to deliver very accurately. I ended up just slopping it on the joint, them working the epoxy into position using a chip brush attached to the end of a stick. If I were to do it again, I would angle the extension downward so that it wasn't in line with the tip. On the second side, I'm going to see if it works better with the original handle pointing up.
 Here is how I attached a chip brush to the end of a stick. It's kind of hard to see, but the end is cut off at a compound angle. It worked really well at spreading an initial layer of epoxy as well as forming the thickened epoxy fillets. I also used it to roll out the epoxy soaked fiberglass tape.
Lastly, here is the Greenland paddle I carved. The wood is a cedar 2x4 I picked up at Home Depot. It was really tight grained and mostly free of knots. The finish is Watco Teak Oil finish...about 8 or 9 coats. The tips have a piece of fiberglass epoxied on for abrasion resistance.
posted by Mike at 10:49 AM
0 comments
![]()


 I also found time to carve a Greenland style paddle. I don't have a good picture of it yet, but here is a picture of the pile of shavings that resulted.
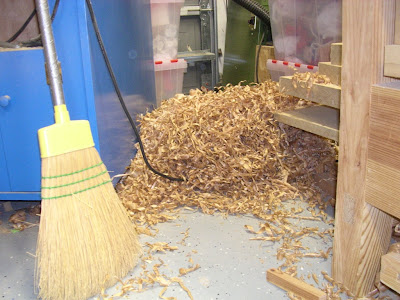
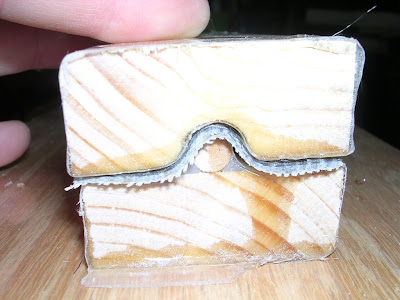
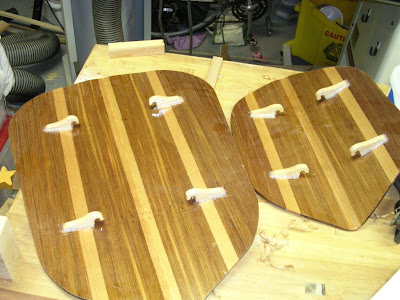
 The finished product.
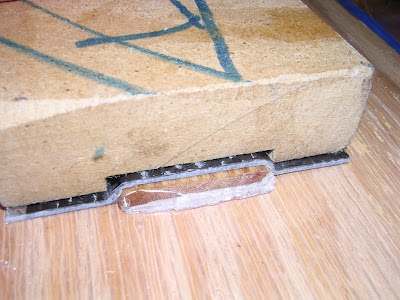
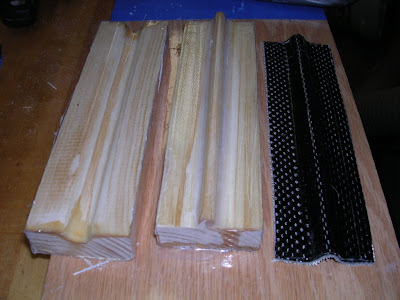
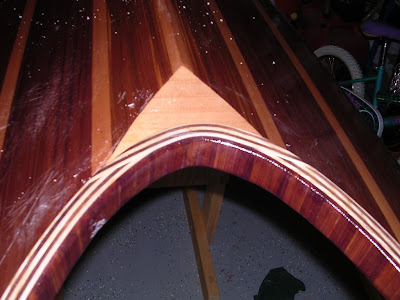
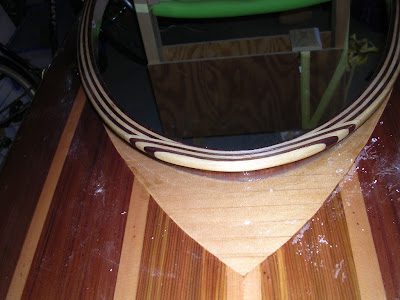
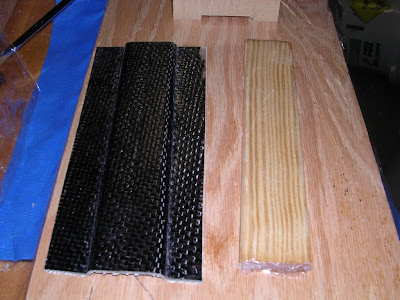 And the finished product. These will be cut into shorter pieces and glued to the deck or hull.
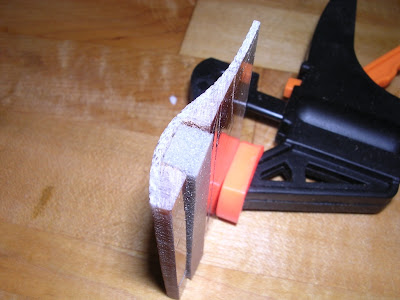


 Looking forward...
